
How I Customised My Volumio Media Centre Head Unit
I’ve been messing around with Volumio for a few days now and I really like it. It has pretty much all the functionality I was after and the Plugins allow for even more functionality from third parties to ensure it’s kept relevant.
In my previous posts I’ve shown you how I configured Volumio and built an enclosure to house a Raspberry Pi and touchscreen as a head unit in my van. Here I’ll show you how I customised Volumio further. I’ll be using a Windows PC but I’m sure the method is similar with Mac.
Background Image
Volumio makes it really easy to change the background image. I found that this is best done in the web interface from a computer rather than on the touch screen itself.
Click the cog in the top right hand corner and select APPEARANCE from the menu.

Under Theme Settings you can drop in new wallpapers or choose between the one’s you have uploaded already. These are stored locally so if you’re using Volumio as a stand-alone head unit then you’ll still be able to change backgrounds.
I love grungy, abstract wallpapers and they work well with Volumio. I found 20 really nice ones here: https://bit.ly/2DdFNli
Changing the Highlight Colour
In general, I love the look and feel of Volumio. All the menus and icons are well polished and it definitely has a ‘premium’ feel to it.
One thing that I really wanted to change, however, was the green accent colour in the menus and buttons. It’s not that I didn’t like it, more that I couldn’t obviously change it and I like a challenge. I imagine there’ll be a future update to allow this but for now we’ll have to gung-ho it a bit!
Enable SSH
First you’ll need to enable SSH on your Volumio device this will allow a device to connect to it remotely. To do this, make sure your device is connected to your network and then enter the IP address of your Volumio device into your web browser followed by ‘/dev/’.
For example:
192.168.5.185/dev/In the following screen, under SSH click on ENABLE. There’ll be no confirmation that anything has changed but don’t worry, it has.

Remote connection with WinSCP
Now you’ll need to download a program called WinSCP (available at: https://bit.ly/1FZ7Ce7).
Start the program and select New Session. Now enter the details as shown below. The default password for volumio is volumio. I’d recommend saving this configuration so that you don’t have to type it all out again in the future.
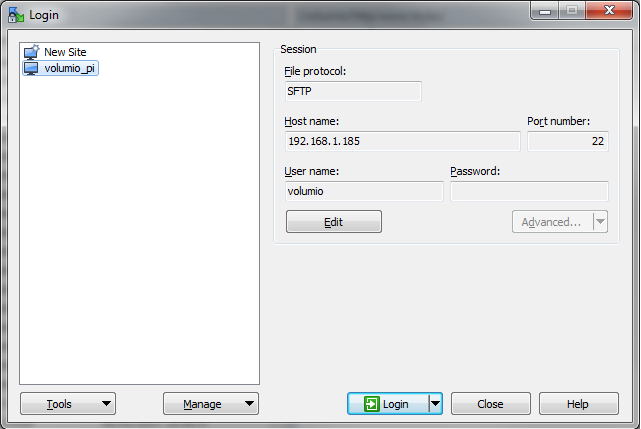
Once this is filled out, click Login. You may be asked for the password again, just type volumio.
Find Style Sheet
You should now have the following interface in front of you.
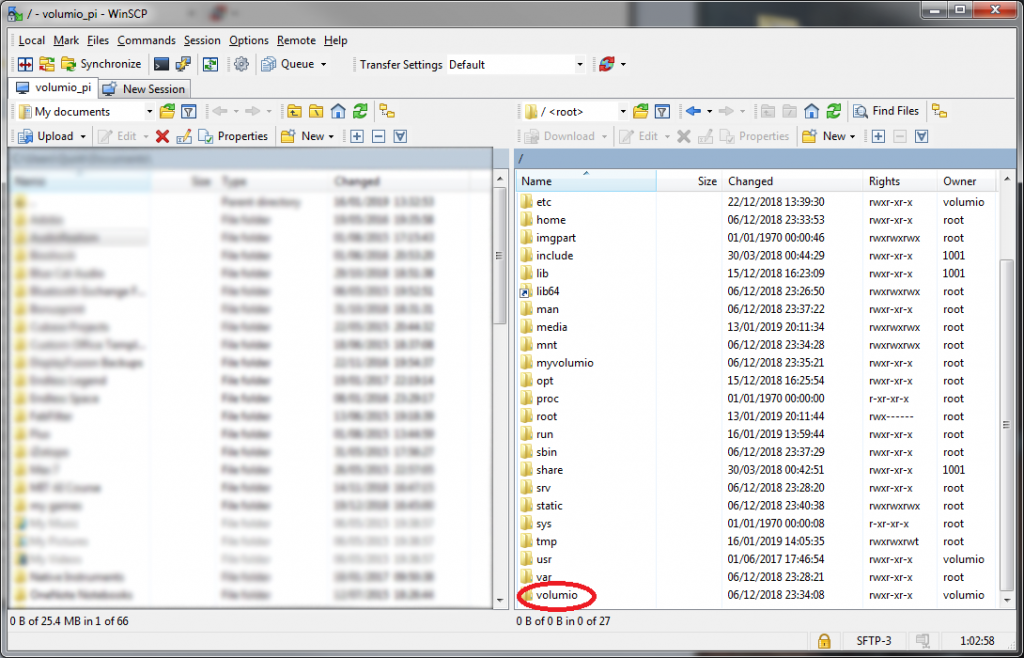
On the right panel you’ll need to navigate to the path:
/volumio/hhtp/www/styles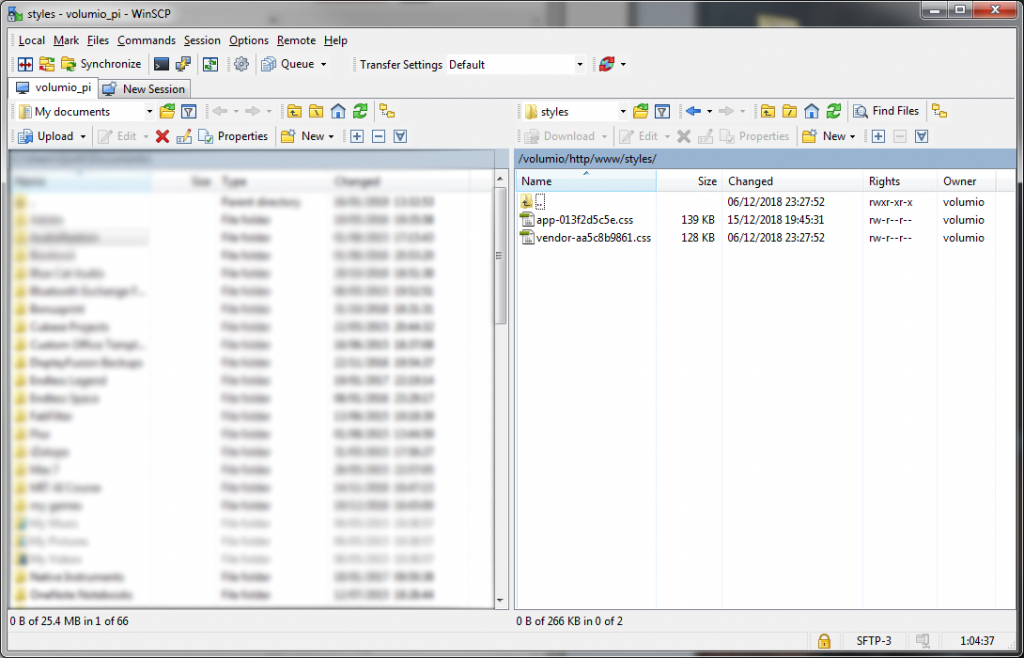
Right click on
app-013f2d5c5e.css And select Edit>Open it with Notepad++ . This number may be different in your version but there will only be one file that starts app-.
If you don’t already have Notepad++ you can download this here – https://bit.ly/2QxbPMw. You can edit the file without but its much easier to use it.
It should look like this:
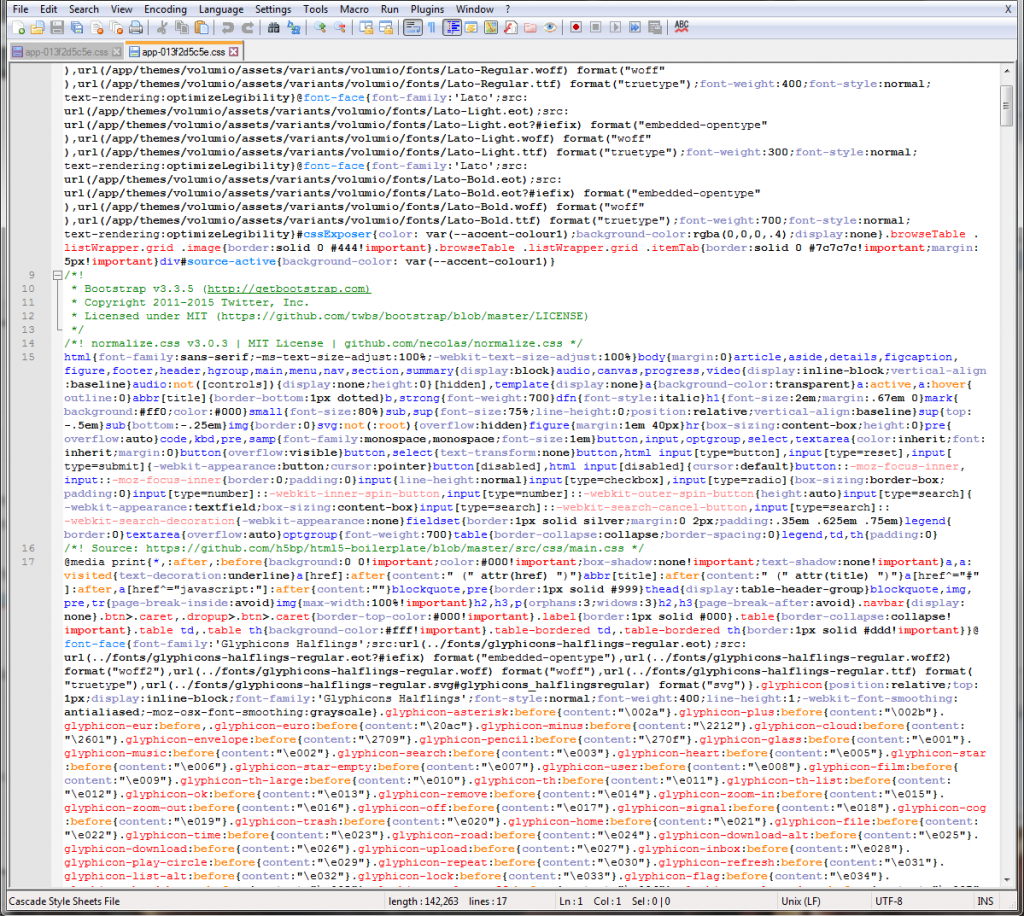
A horrible, unreadable block of code! Don’t worry, you don’t need to understand what’s going on here, just follow the next steps.
Changing The Colours
What we’re looking at here is the style sheet for the web interface of Volumio. Everything in this document defines how Volumio is displayed in your web browser.
There are four different colour greens that are used in the interface.
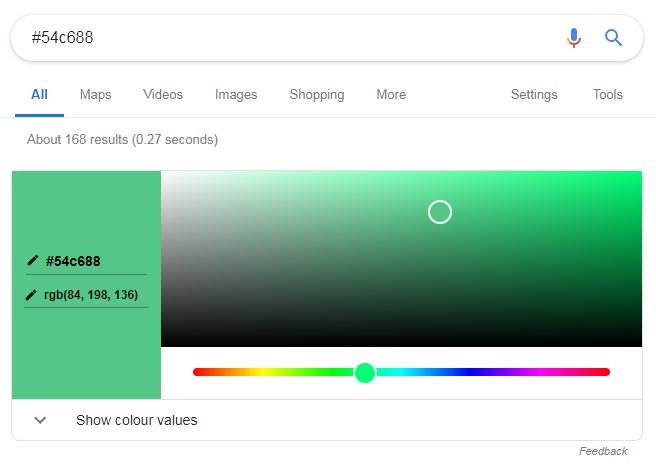
#54c688 - Main highlight
#54c698 - Slightly darker
#2d8756 - Darker again
#339a62 - Slightly lighter
These colours are shown as ‘Hex Codes’, that is, represented by a 6-bit hexadecimal code that defines the RGB value. If you copy and paste these into Google then you should see the corresponding colour.
We now need to change these values to represent the colour (or colours) we want to have for the accent colour.
The Quick and Dirty Method
With the style sheet open in Notepad++ press ‘CTRL + H’ to open the Find And Replace menu.
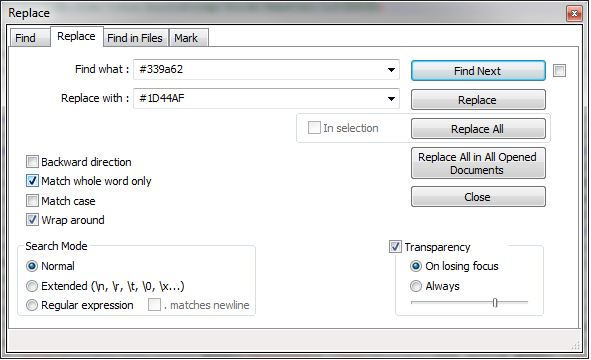
In the Find what: field enter the first colour code, in this case #54c688.
In the Replace with: field enter the colour (in hex code form) that you’d like to replace it with.
Click the Replace All button.
Repeat this method for the four green colours identified above. The original greens are slightly different hues and I got the best results when I chose hues of my new colour that matched these differences.
The green #54c698 is slightly darker than the first ‘main’ colour for example so if you changed the colour to yellow then you would change this second colour to a slightly darker yellow. This is just personal preference though and you can do whatever you want.
A More Elegant Method
If you just want to change the colours once and be done with it then the first method will be fine. If, however, like me you want to be able to switch the colours easily then you’ll want something slightly easier to work with.
I started by adding some code at the top of the style-sheet (this is really hacky but doesn’t seem to impact performance.)
:root {
--accent-colour1: #DC7B26; /*- Standard */
--accent-colour2: #C16C21;/*- One Darker*/
--accent-colour3: #894D18;/*- Darker*/
--accent-colour4: #A55C1D;/*- Slightly lighter*/
}
I’ve added some comments so I can remember which colour is which.
Then use the Find and Replace (CTRL + H) to find each one of the colour values but instead of replacing it with another hex code, replace it with one of the variables above.
Replace:
- #54c688 with –accent-colour1
- #54c698 with –accent-colour2
- #2d8756 with –accent-colour3
- #339a62 with –accent-colour4
Take care to keep any brackets as they are and don’t accidentally leave an open one or things will start to get crazy.
Once you’ve done this, you’ll only have to replace the colours once, at the beginning of the style-sheet, and it will automatically update them throughout the document. Much easier!
I saved a few of my favourites in a text document so that I could just copy and paste them in when I want to change them. Here’s a nice blue.
//Blue

--accent-colour1: #265BEA; /*- Standard */
--accent-colour2: #2150CD;/*- One Darker*/
--accent-colour3: #183992;/*- Darker*/
--accent-colour4: #1D44AF;/*- Slightly lighter*/
Save these changes (CTRL+S on PC) and restart Volumio. You should find that the interface highlights match the colours your entered. Enjoy!


