I’m back in England for a few months to get the MOT for the van, sort some rust and do a couple of much needed upgrades to the living space. In this post, I’ll talk about some of the options I looked at when considering heating my van.
I was in Portugal last Winter and there were some reeeeally cold nights. My van has fairly decent insulation but there were times when I’d wake up, wrapped in a sleeping bag with a blanket over the top wearing a hat and a scarf with a hot water bottle at my feet and I was STILL too cold. Sometimes I lit the hob to warm the van slightly but this is a bit dangerous so I tried not to do it for long. I couldn’t really find a good solution for keeping warm reliably so I decided, one particularly cold night, that I needed to buy a heater.
There are lots of options for heating a van but if you’re planning to be totally off-grid like me then things become a bit more limited, I’ll explain below.
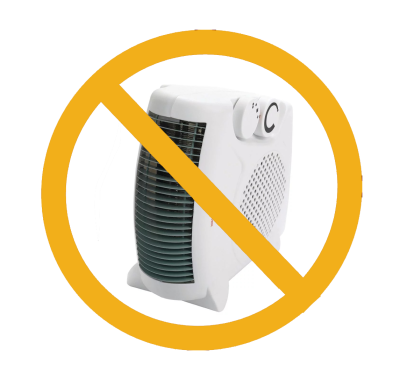
Electric
Electric heaters like one ones you see in DIY shops are cheap (around £15) but require way too much power to be practical when working from battery power with the primary method of charging being solar panels. A pretty standard 240v (mains power) heater will consume about 2000W of power. On my fairly hefty battery bank I’d be able to run this for about an hour and a half before my batteries were completely depleted. Not ideal.
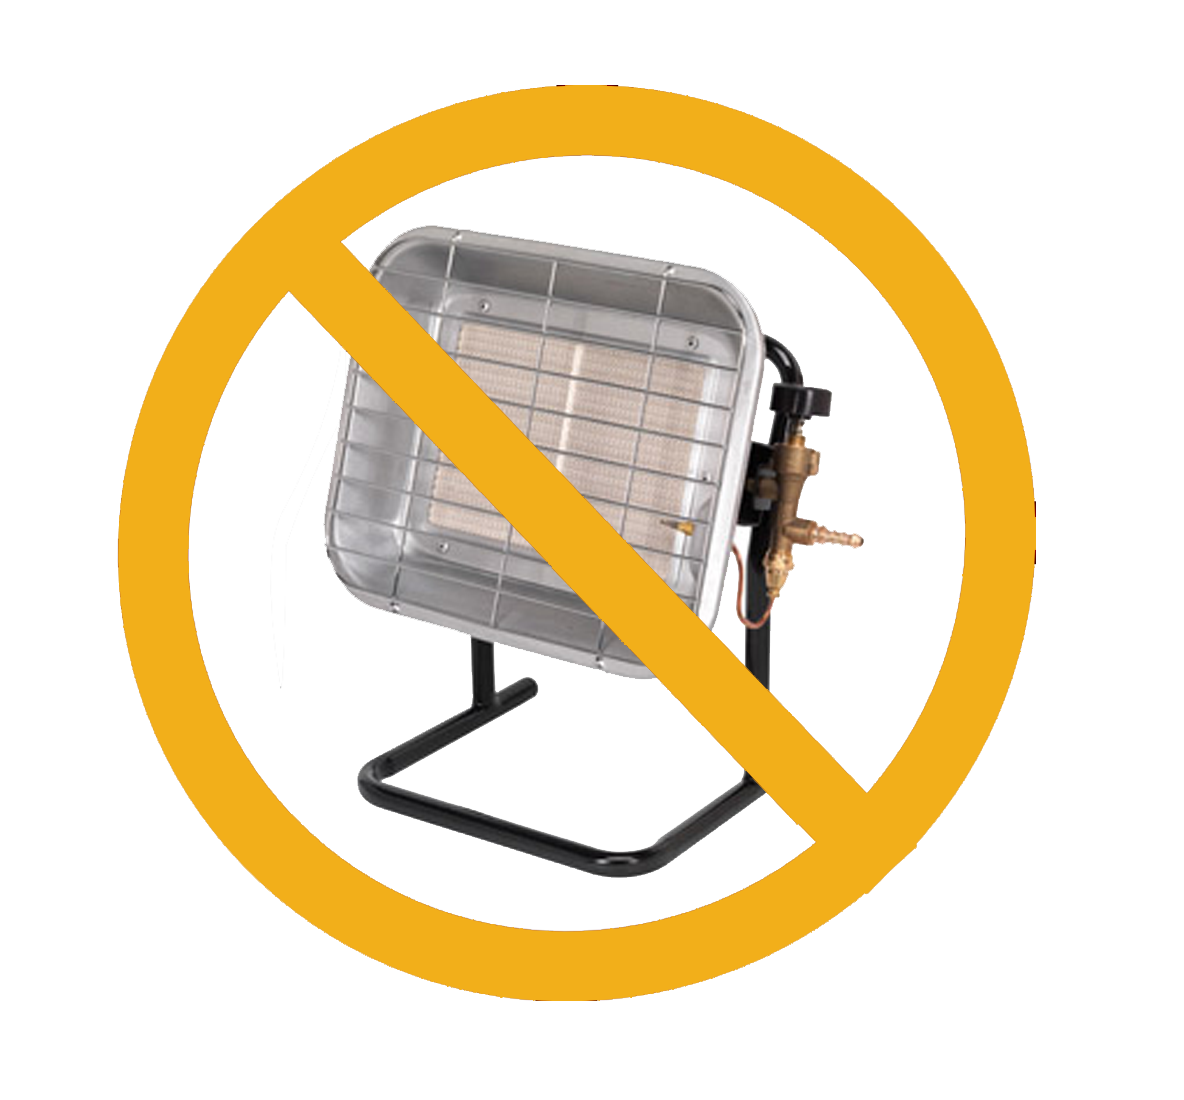
Gas ‘Space Heaters’
This was the next option I looked at. These are slightly more expensive than electric but still very affordable at £60. These heaters can run from LPG which is excellent as it’s the cheapest source of fuel I have. My refillable LPG tank costs about £9 to fill and lasts me between six and twelve weeks.
These space heaters looked like a good option. I could connect it to my existing gas manifold and have cheap controllable heat whenever I liked, so what was the catch? After a bit more research I discovered that these heaters aren’t ideal for heating an enclosed space. They tend to produce Carbon Monoxide (tasteless, odourless gas resulting from incomplete combustion that can kill in high concentrations) and water vapour, both of which I’d like to avoid in my van. There is also the danger of things falling into the heating element and catching fire, again something I’d like to avoid as my van is constructed mostly of wood and very flammable! More research required.
‘Blown Air’ Night Heaters
This type of heater looked ideal but the price range was between £475 – £1200 for a new one, so a very expensive option. ‘Blown Air’ Night Heaters are commonly found in trucks and coach built campers. As the name suggests, it works by blowing air over a heated turbine which produces a warming effect, you can also safely leave them on overnight and not wake up freezing which is a nice bonus. These looked much more promising, the combustion is sealed from the inside of the van and vented directly outside which means there is a waaaaaay smaller chance of being gassed by nasty emissions, also a bonus.
These heaters come in two flavours, diesel/petrol and gas. Initially I really liked the idea of having a diesel heater connected to the main fuel tank of the van. I’d looked at the specifications and they sipped just 100ml of fuel per hour which wouldn’t even make a dent in my 74 litre fuel tank. These heaters are also very economical, taking between 15 and 36 Watts of power depending on which stage of the heating cycle they were in. So far so good.
When I was looking for one (about two years ago) this type of heater was between £600 – £1200 new so I decided to find one second hand. After a lot of searching I found a Webasto Airtop 3500 on Gumtree for £200. It looked reasonable and after talking to the guy for a while I trusted him enough to buy it. I spent a few days with a mate trying to get it to work but couldn’t crack it before I left, so it sat in my garage for a year.
Whilst I was travelling I spoke to a lot of people and did some more research. The conclusion was that the diesel heaters were great but quite complex and liable to break if not serviced properly, which can be expensive. I actually spoke to a guy who used to install them and he gave me a long list of reasons why mine might not be working, they were complex. I decided I’d try and look for a secondhand gas heater instead, the name that kept coming up was Propex, a British company who made ‘blown air’ gas heaters in the same style as the diesel ones.
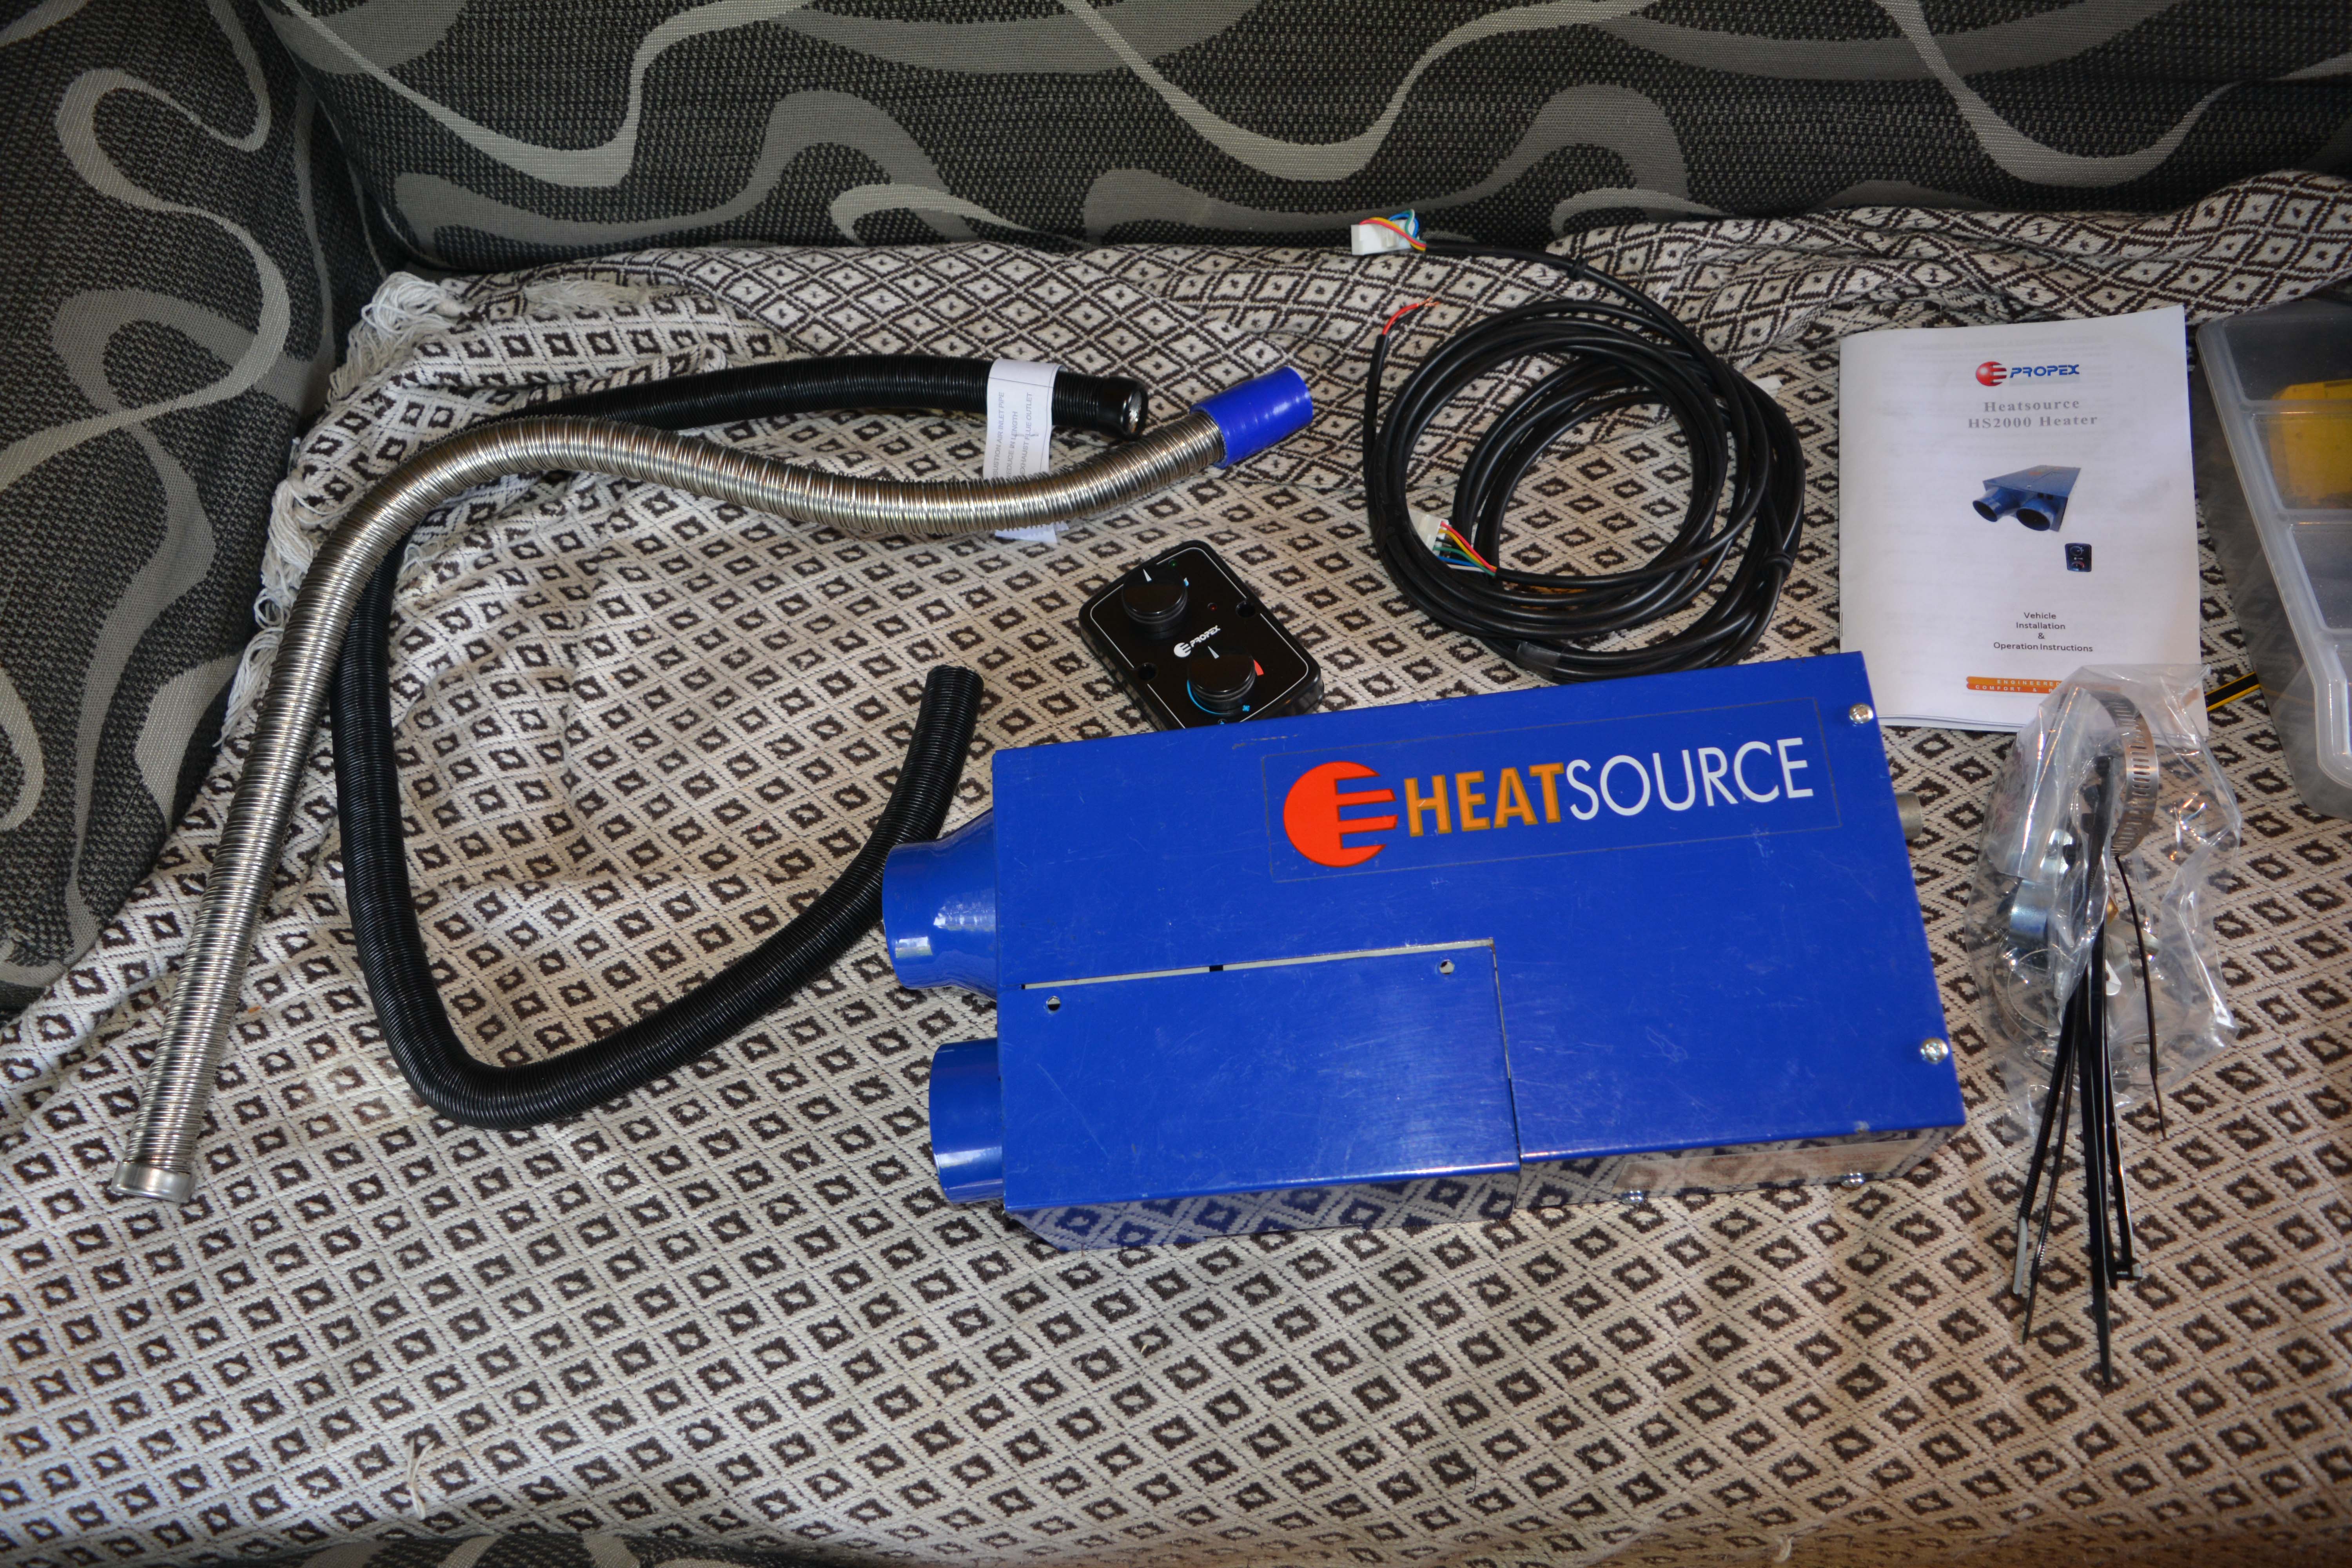
So after eeeeven more research I ended up with one of these beauties!
This is a Propex HS2000, an updated version of the well renowned Compact 1600. I bought this for £300 reconditioned from Propex. I had no idea they sold reconditioned heaters until I called them and spoke to the receptionist about something else. These are about £475 new so £300 is an absolute steal.
Useful tip: if you’re looking for a heater, call Propex directly (+44333 011 0488) and ask if they have any reconditioned ones. You might get lucky!
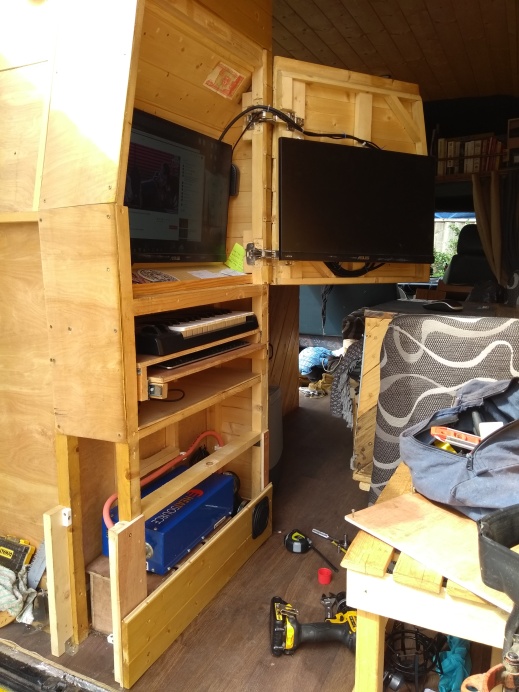
I installed it in the bottom of the cupboard that houses my PC monitors. Prior to this the space had contained my tools and various other bits that I thought might be useful on my travels. A lot of it I never used and the tool bag was definitely an inefficient use of space so I decided to re-home the other bits and use it for the heater. I had to make a few small adjustments to the cupboard to squeeze it in but it juuuuuust fit. I hadn’t planned this, I just hoped that it would be small enough and then stubbornly adjusted things to make it work. This isn’t the best way to do things by the way!
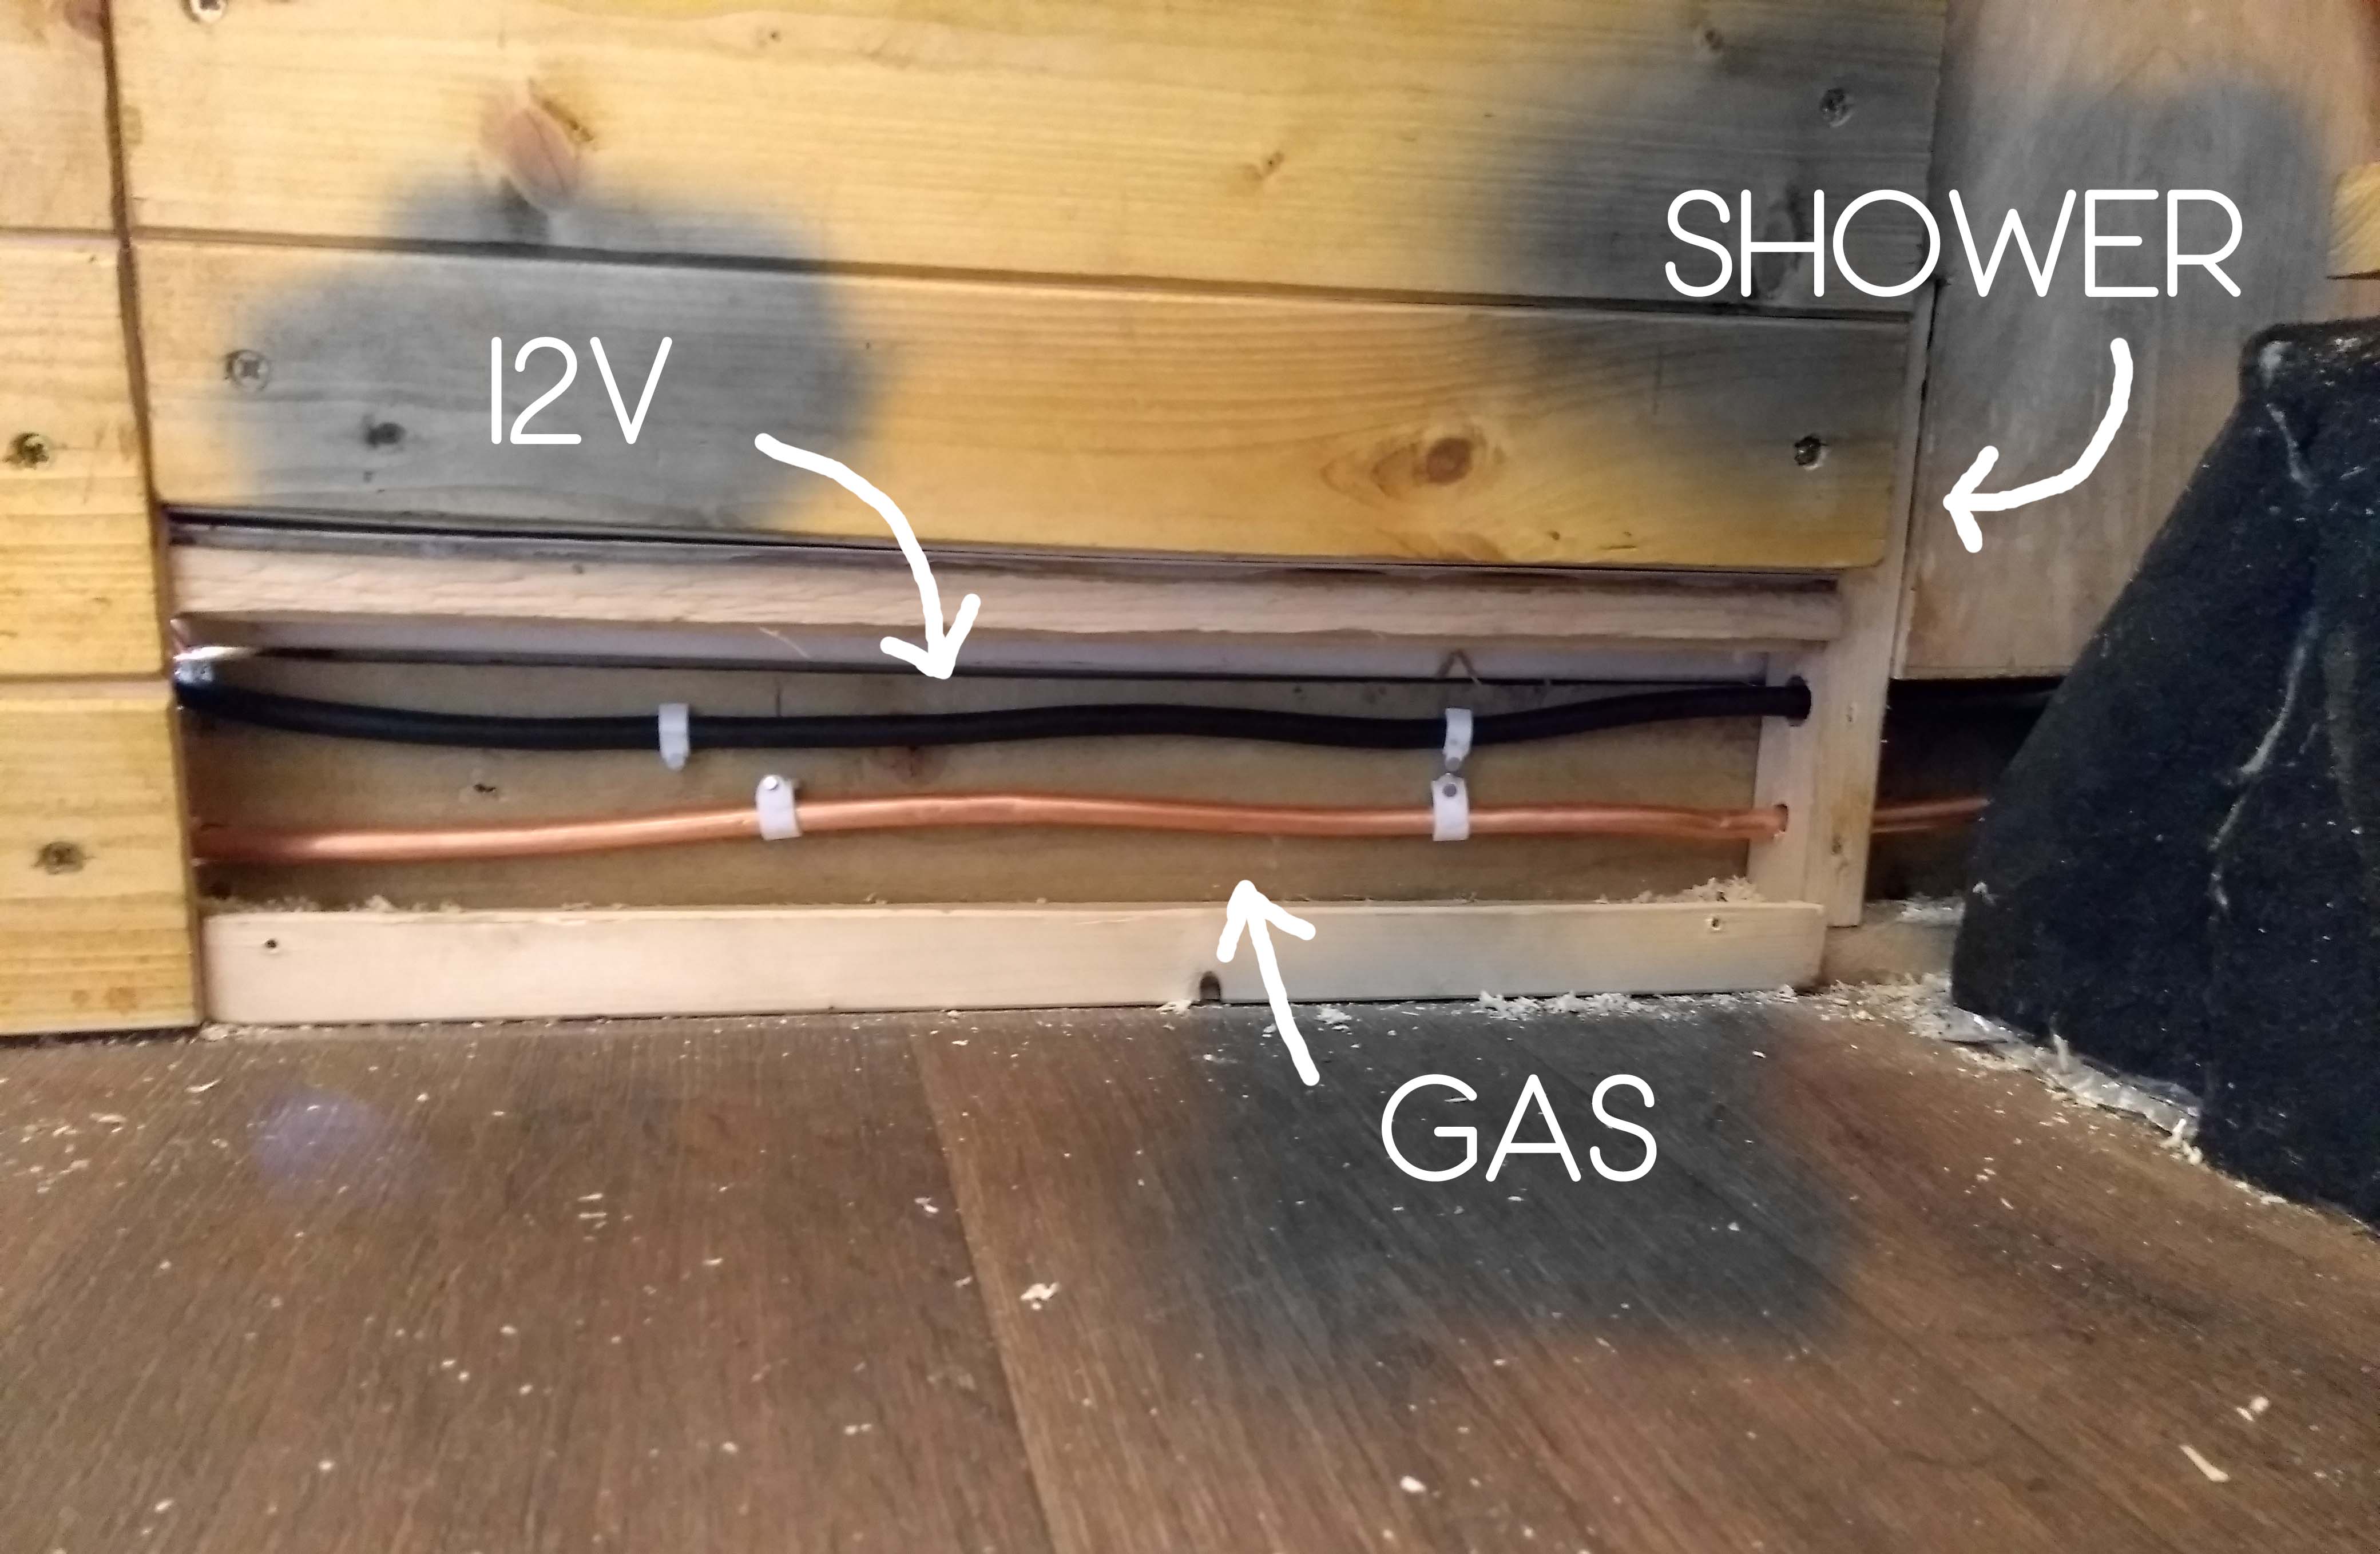
It was a real ballache putting the heater here but I’m glad I persevered. There were chassis members in the way of the external air ducts so I had to mount it on a sealed box tall enough for me to reroute the ducts out of the way of the horizontal beams. It made so much sense logistically though, and was the least destructive place I could position it without losing too much storage. It was also fairly straightforward to route the gas and electricity here too, behind the fridge and through a hollow section under the shower door which would be hidden behind the cladding.
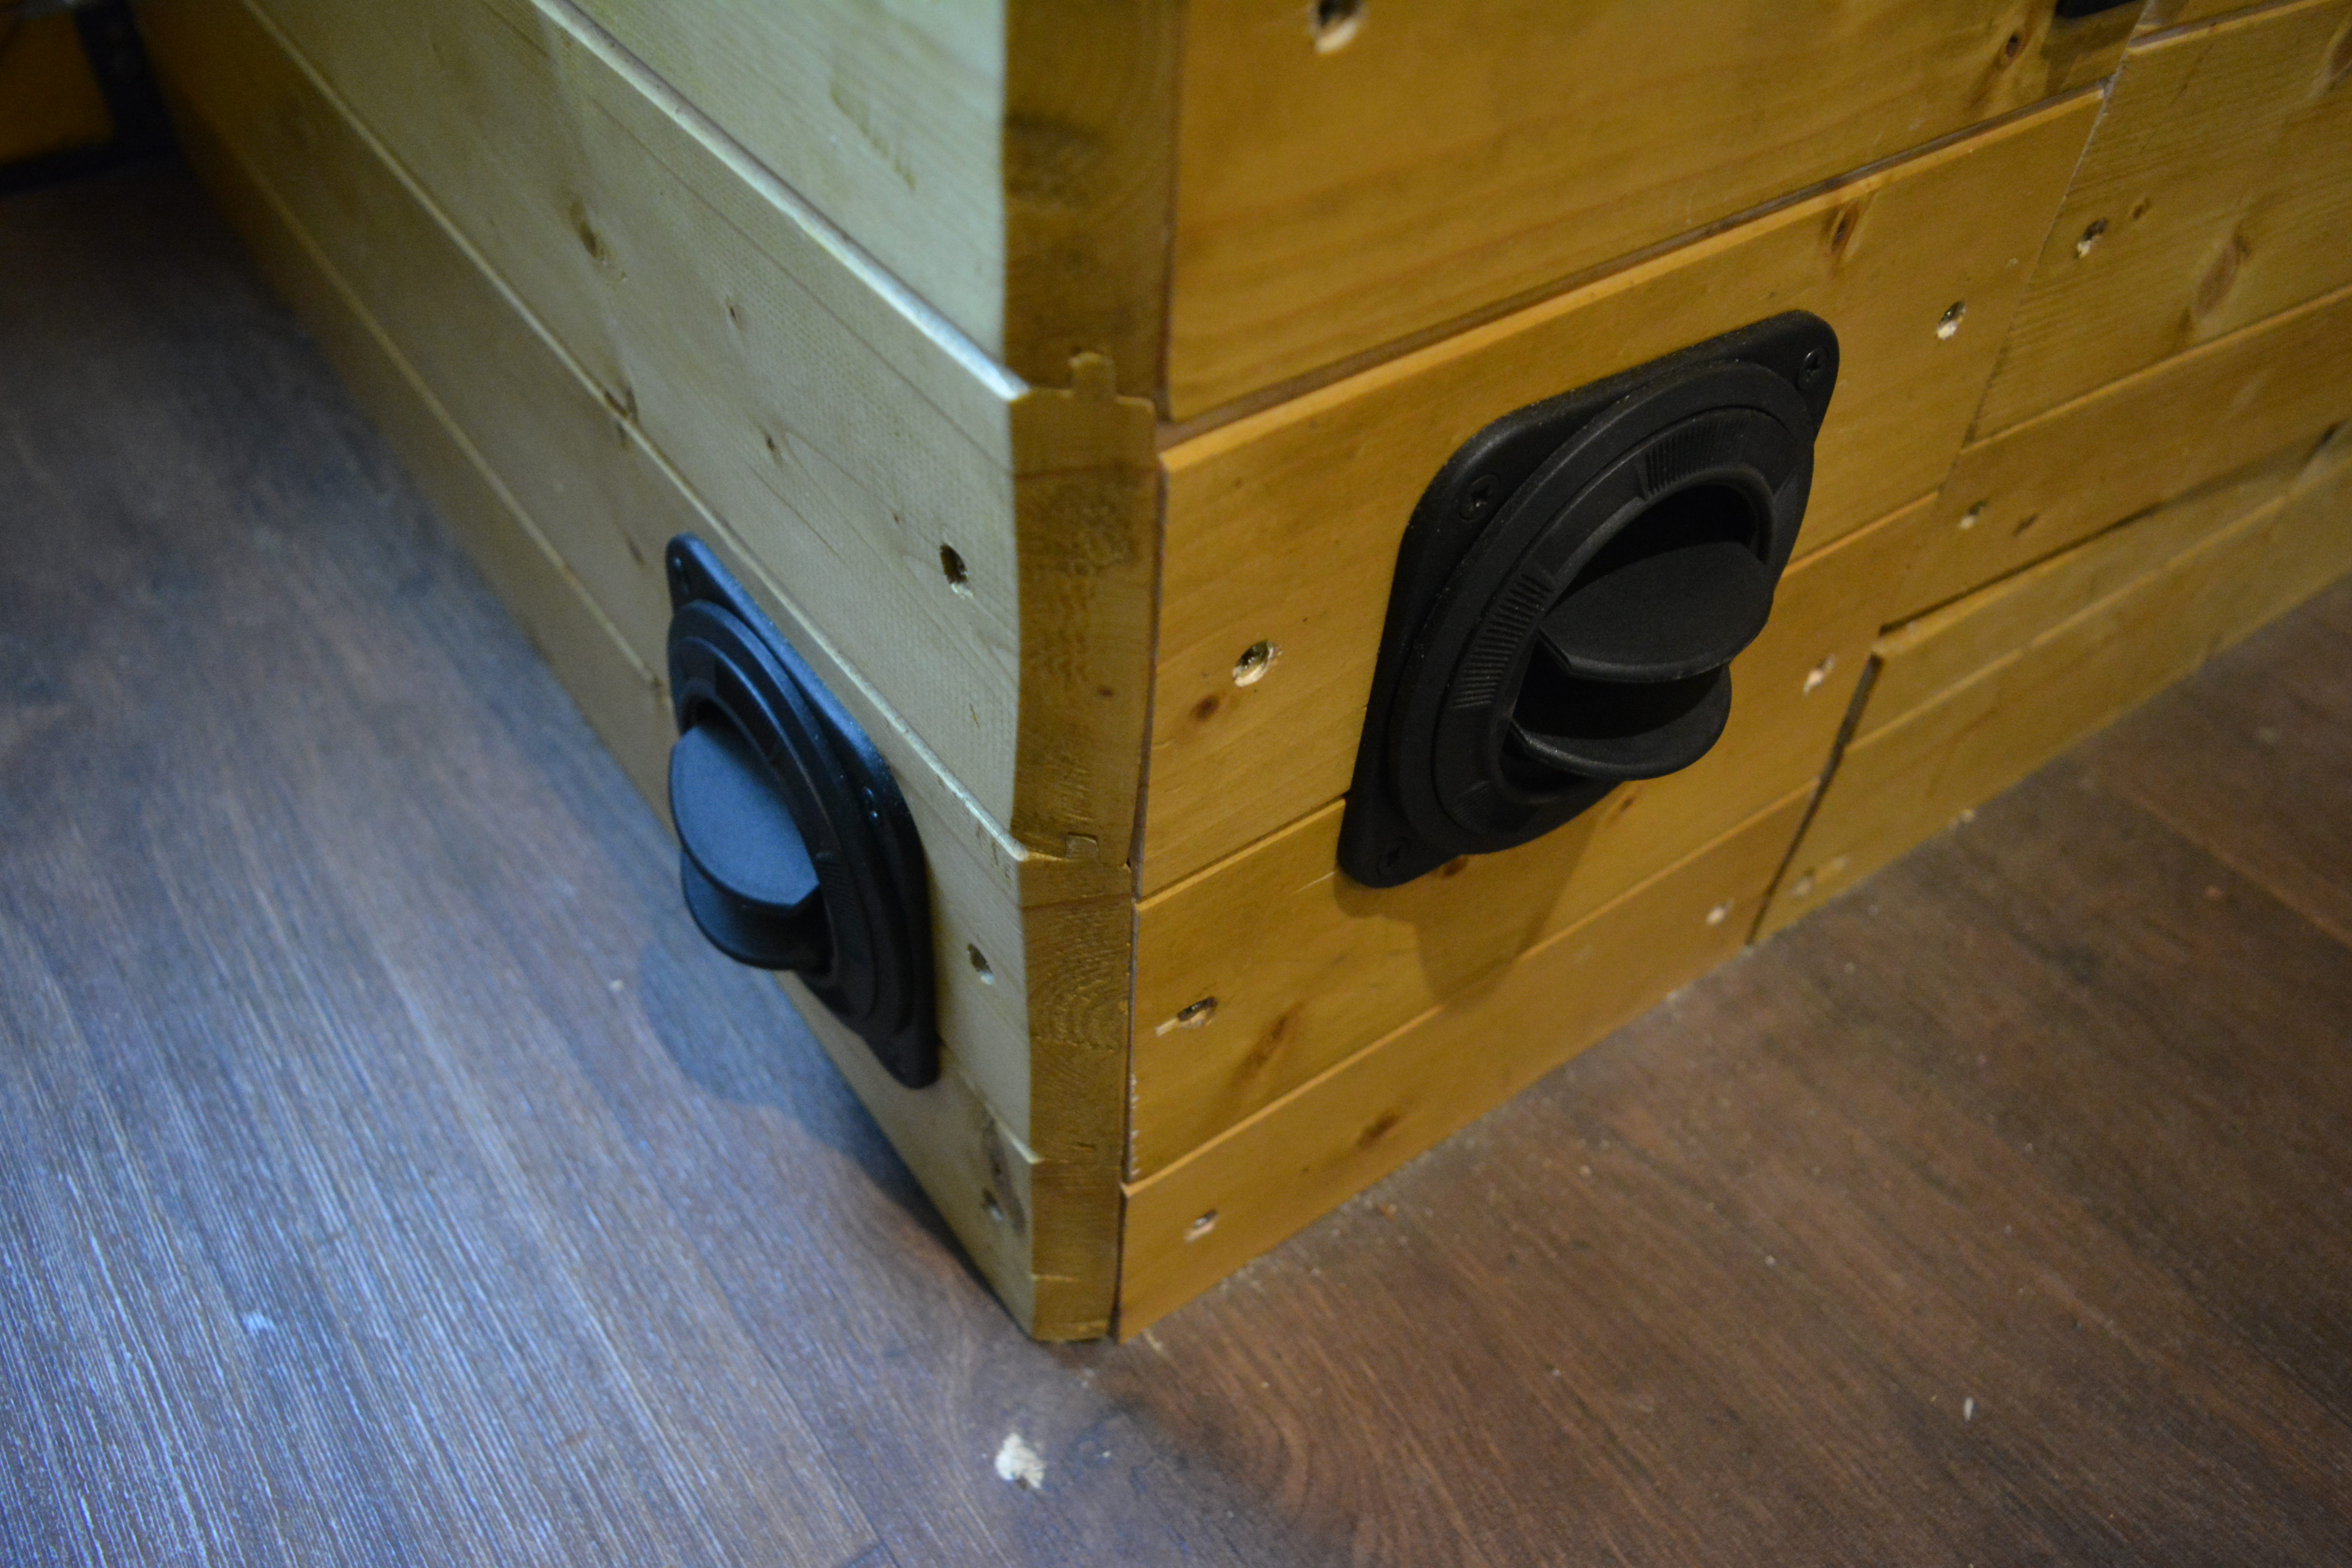
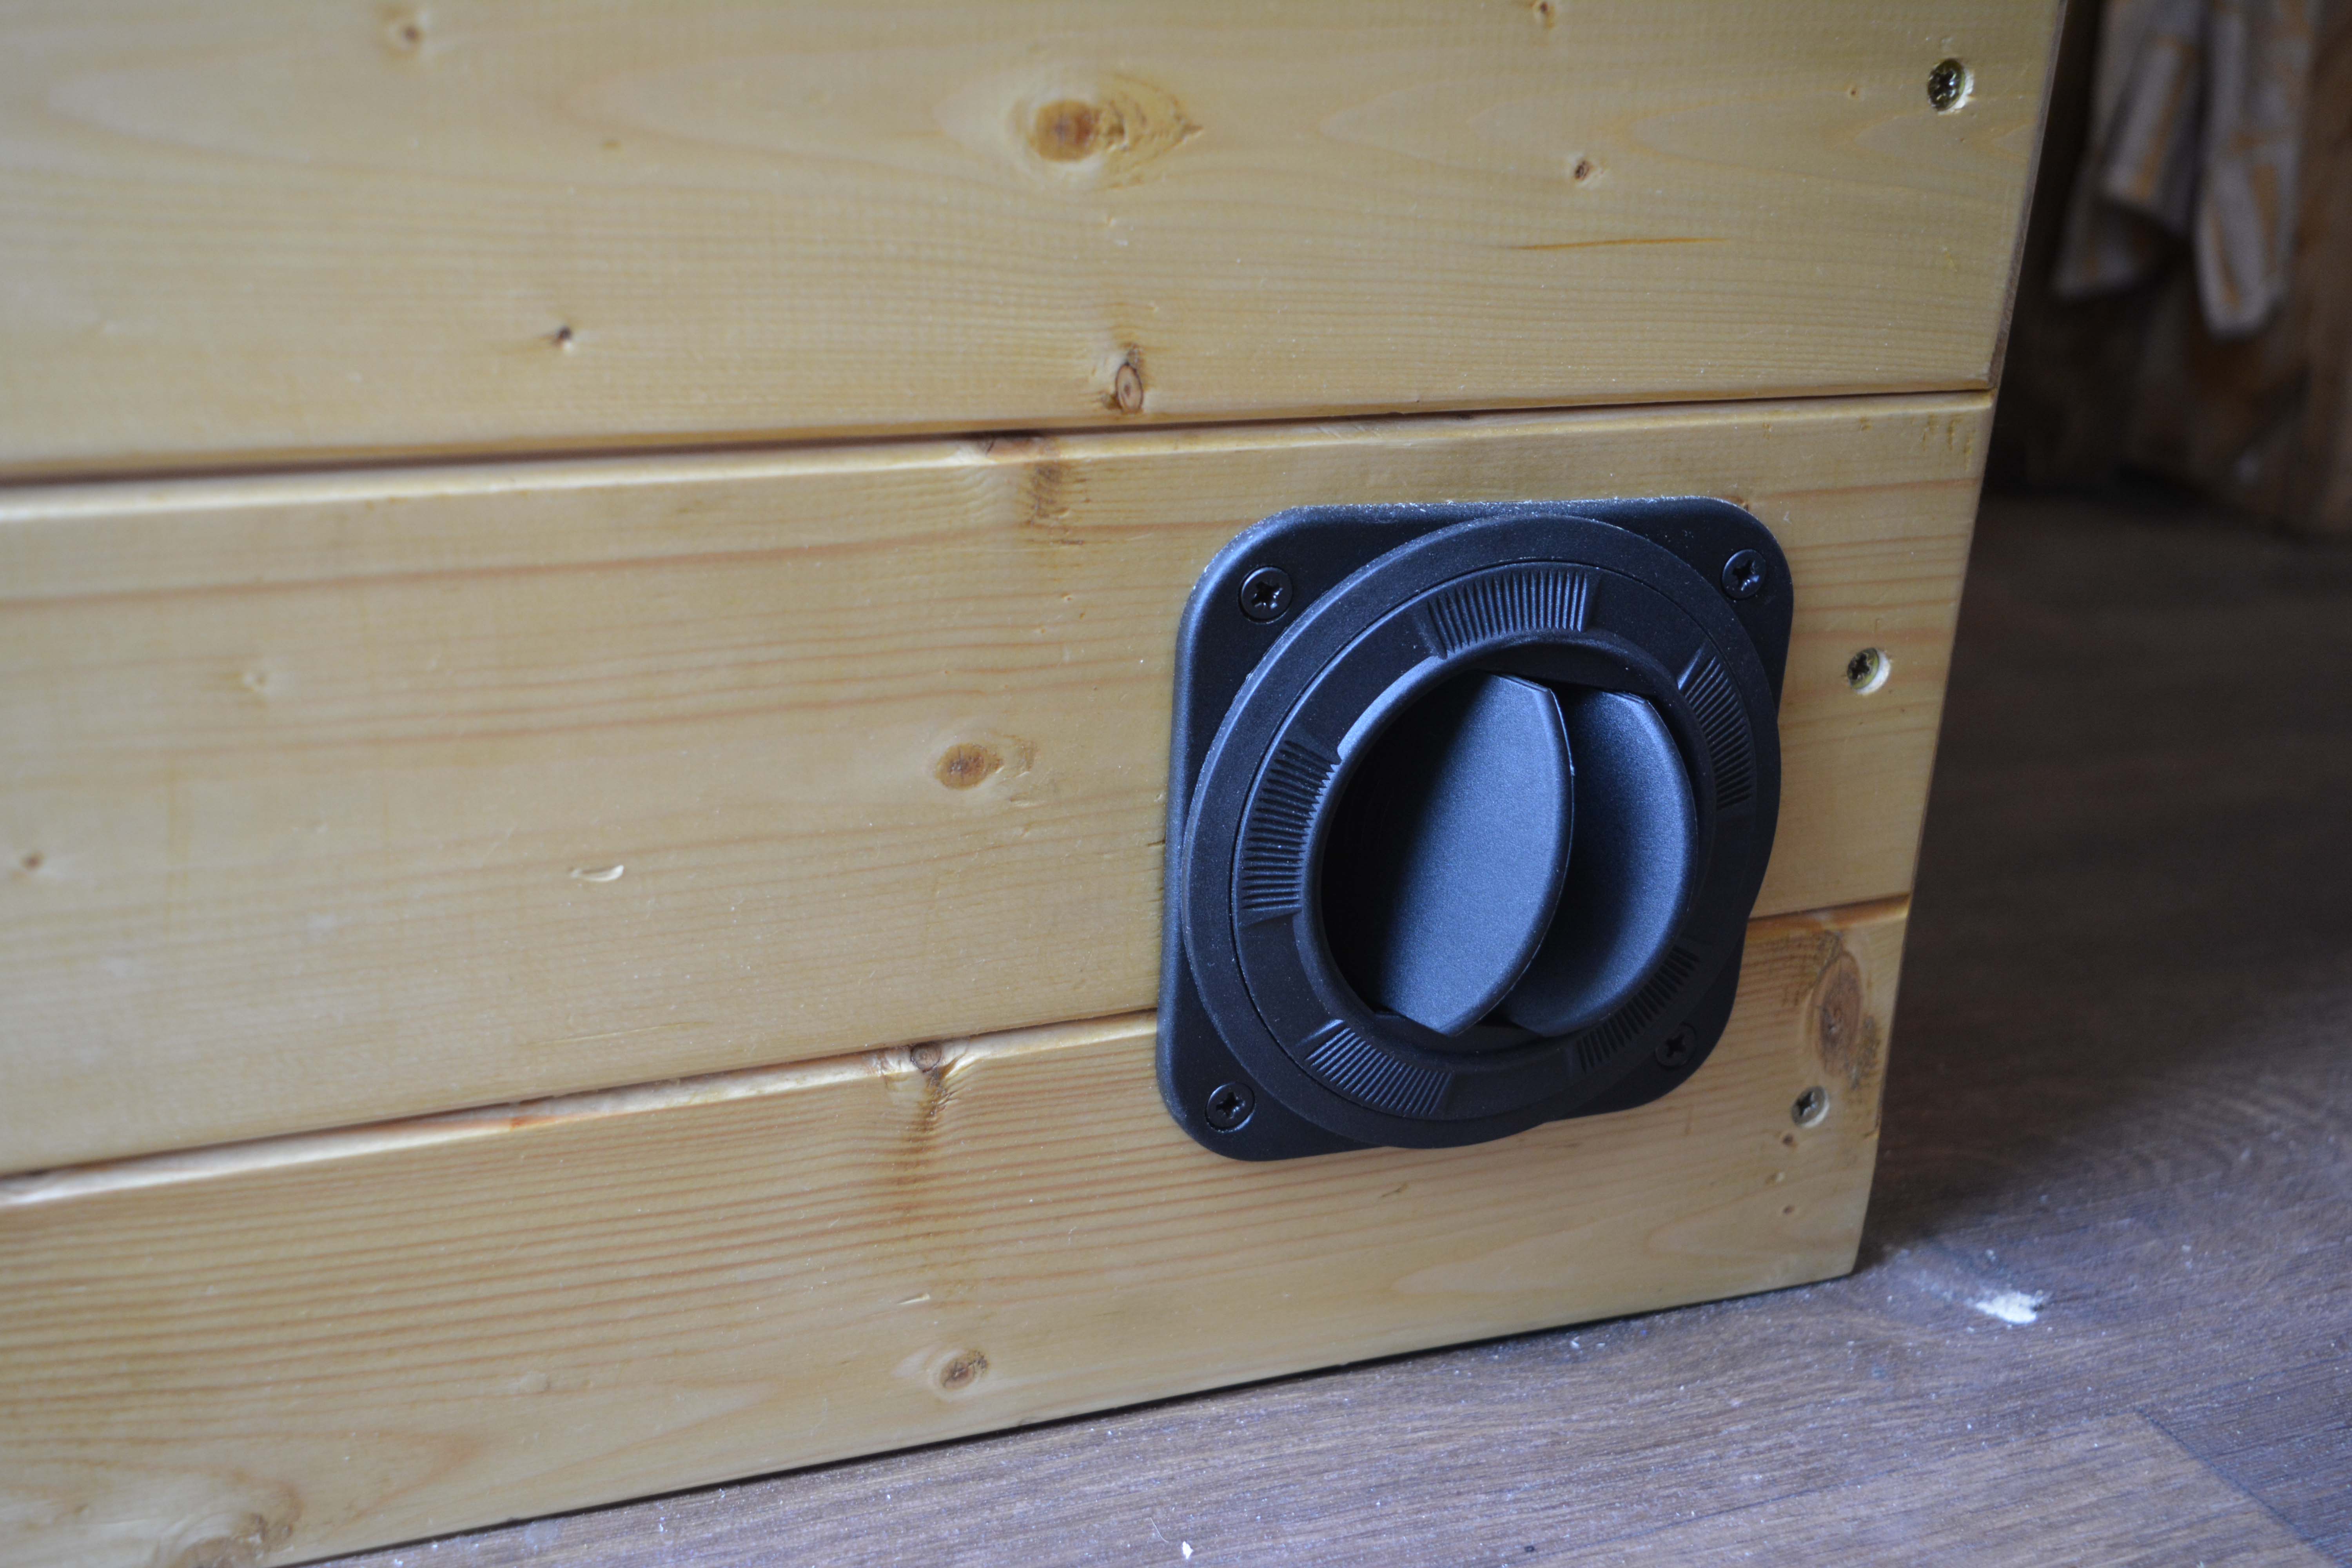
I installed two vents. One at the side which will warm my feet when I’m using my computer (very important!) and one at the front which heats the rest of the van. I placed them close to the ground, as hot air tends to rise.
The vents are the ‘spinny closey’ type (technical name) so I can isolate each one or have both open. I was a bit sceptical at first but the directional aspect works really well, allowing me to blast warm air around the van as I please.
The weather in England has nice and warm for the past few weeks so I haven’t given it a proper test yet but I’m seriously looking forwards to the first cold night so I can really try it out.
When I’ve had it running I’ve measured the power consumption to be around 25 Watts which is hardly anything and the amount of heat that it produces easily heats the van in a few minutes. It’s going to be such a treat after some of the chilly nights I’ve experienced!