
Upgrading My Stereo PART 1: A Raspberry Pi Touch Screen Head-Unit
This is the first in a series of posts where I’ll take you through how I built and installed a Raspberry Pi powered touchscreen head-unit in my LDV Convoy van.
The standard audio system in my van was pretty basic and sounded rubbish so it was time to replace it with something a bit more capable.
I bought a Raspberry Pi 3 Model B+ last year and this seemed like an interesting project and a nice solution to my stereo troubles! In this first post I’ll show you how I built the enclosure for my touchscreen head unit and then installed it in the single DIN space in my van.
Screen
There are quite a few options when considering touchscreens for the Raspberry Pi. I decided to buy the official Pi touchscreen. I wanted something that would just work straight out of the box without too much configuration. The official screen is only about £60 which is pretty decent for a multi-touch 7″ touchscreen.

You can find it on Amazon here: https://amzn.to/2CcjoTE
The setup was really easy. The screen I bought was already connected to the display board so was just a case of connecting the red and black jumper cables to provide power to the screen.
Connect these from the labelled pins on the display board to the corresponding inputs on the GPIO pins on the Raspberry Pi. Red to 5V and black to the GND (ground) pin.

Then connect the ribbon connector between the Pi and the screens display board. It worked straight away, no faff and no setup required.
Enclosure
I wanted something that would hold the screen in place and would be slightly recessed to protect the edges of the screen. In an ideal world I would have 3D printed this enclosure but I had to make do with what I had, in this case some solid pine board and a router.
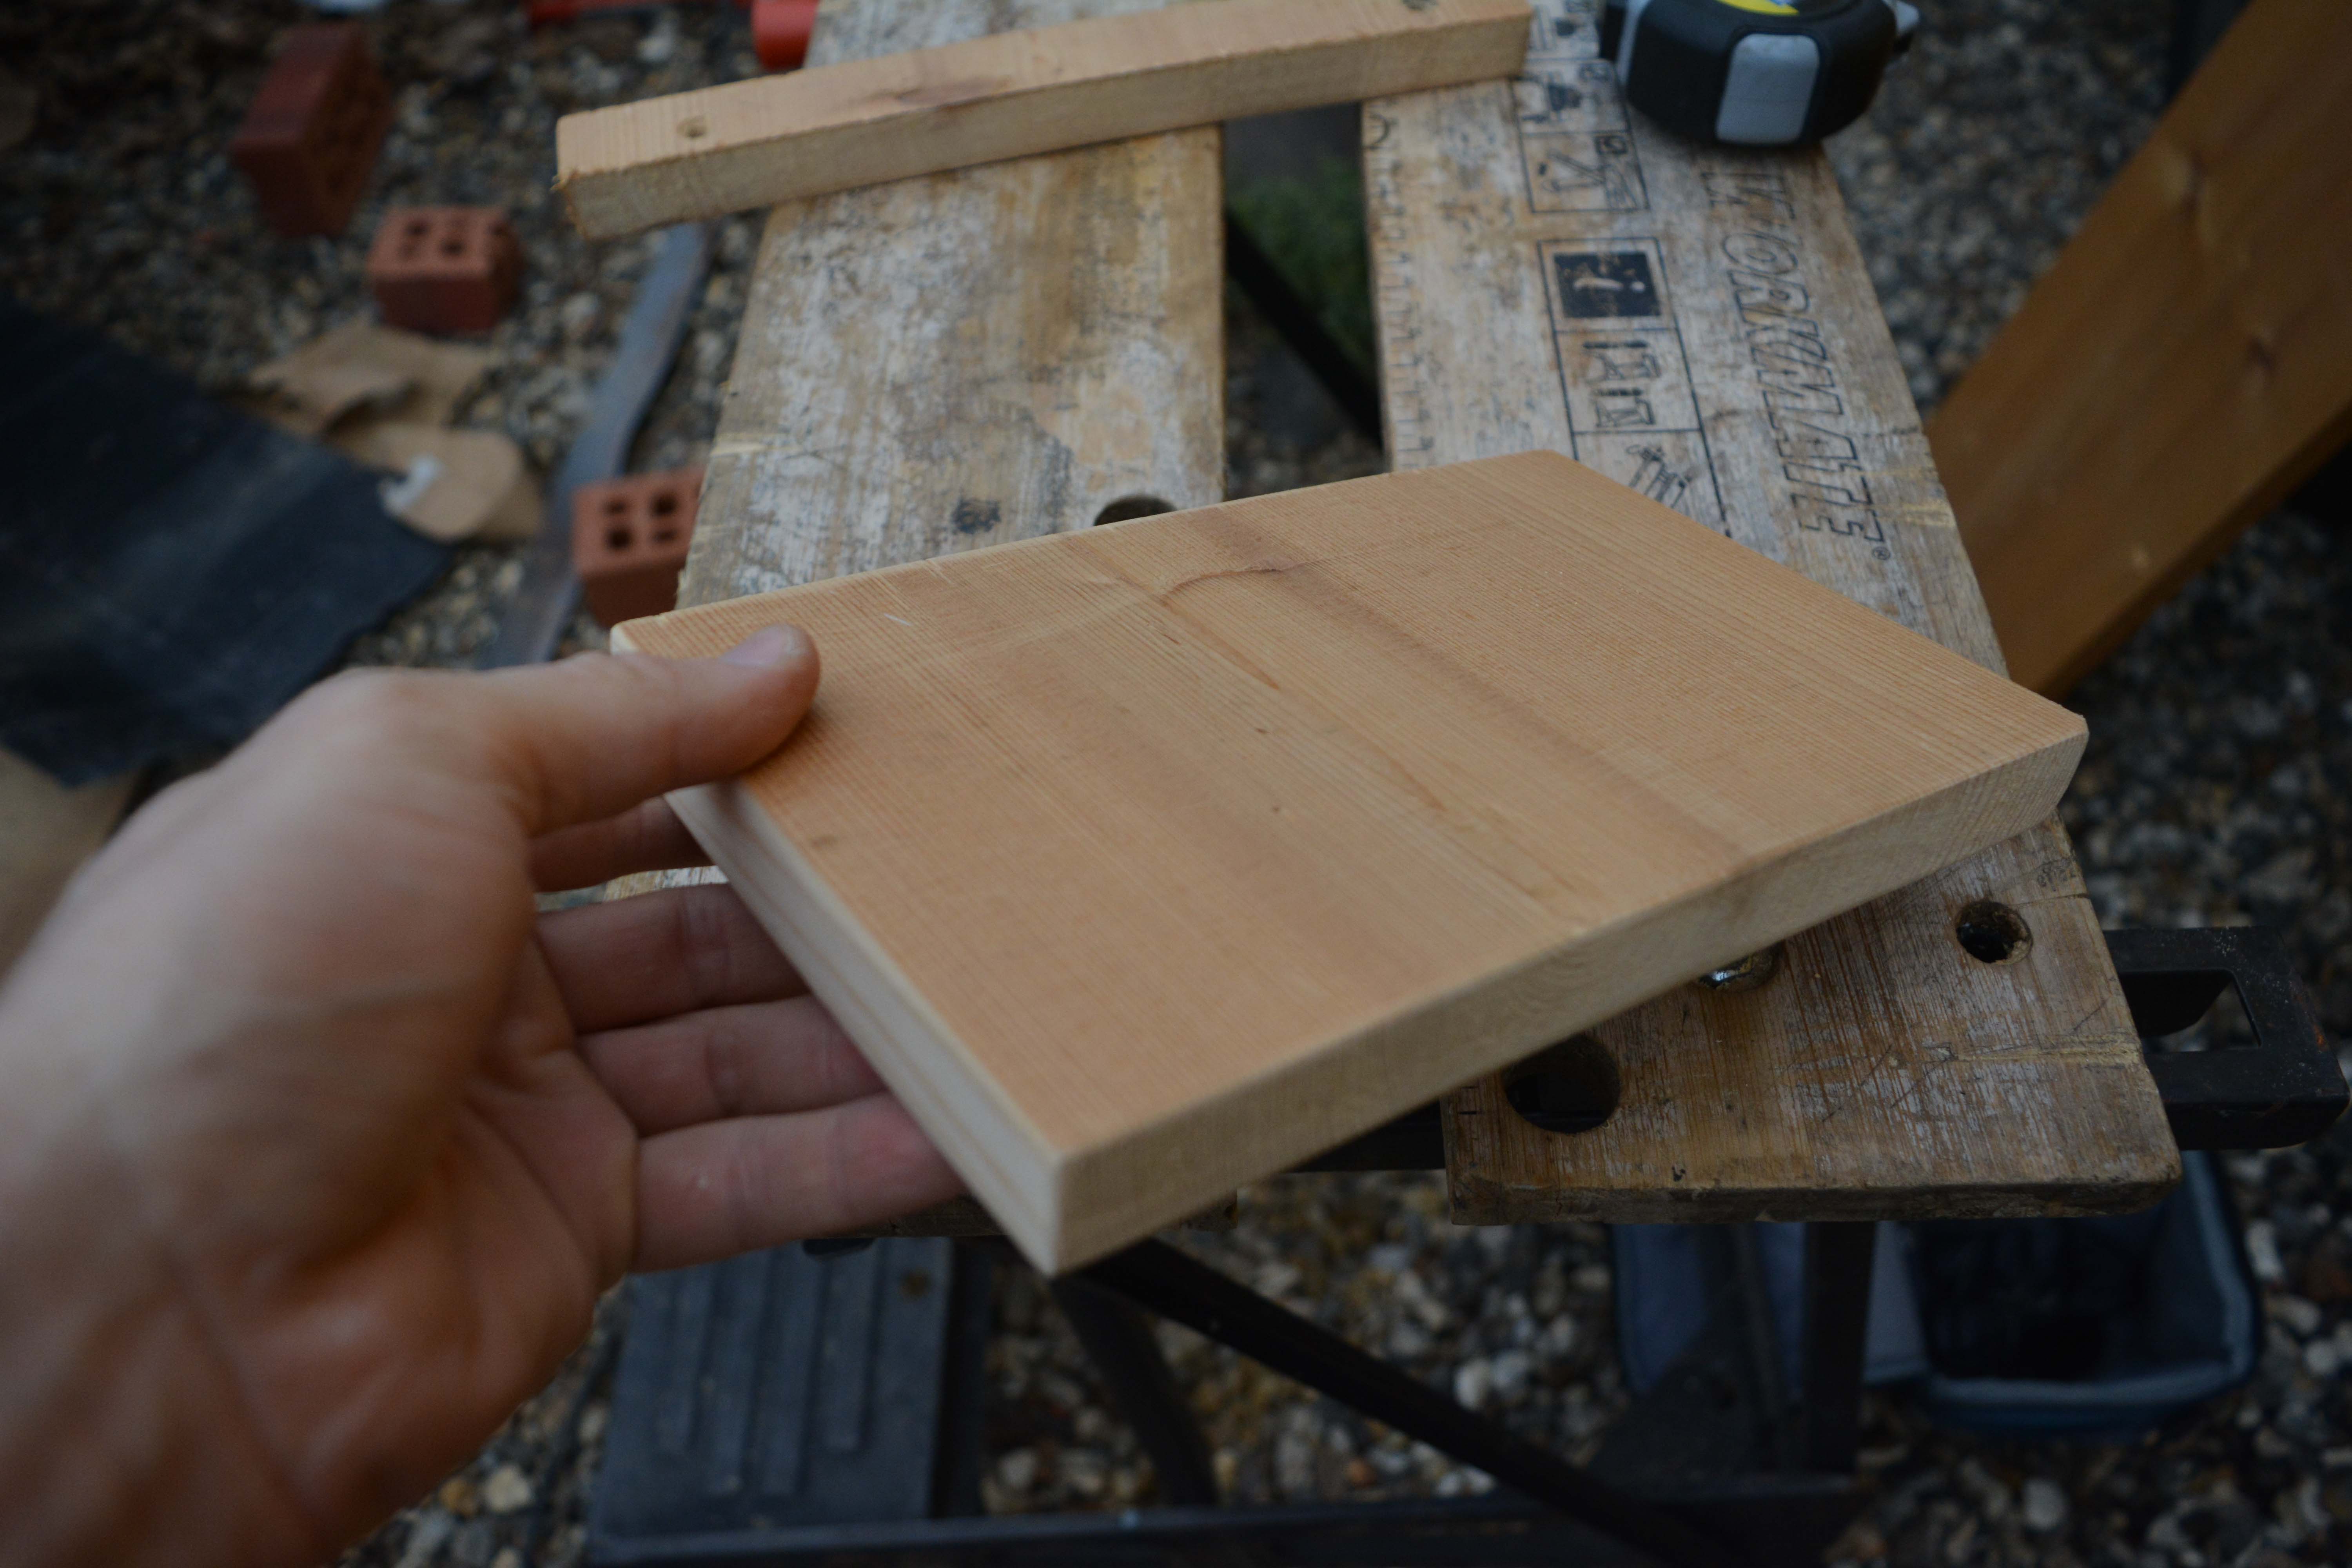
I measured the screen leaving 10mm as a border around the edges.

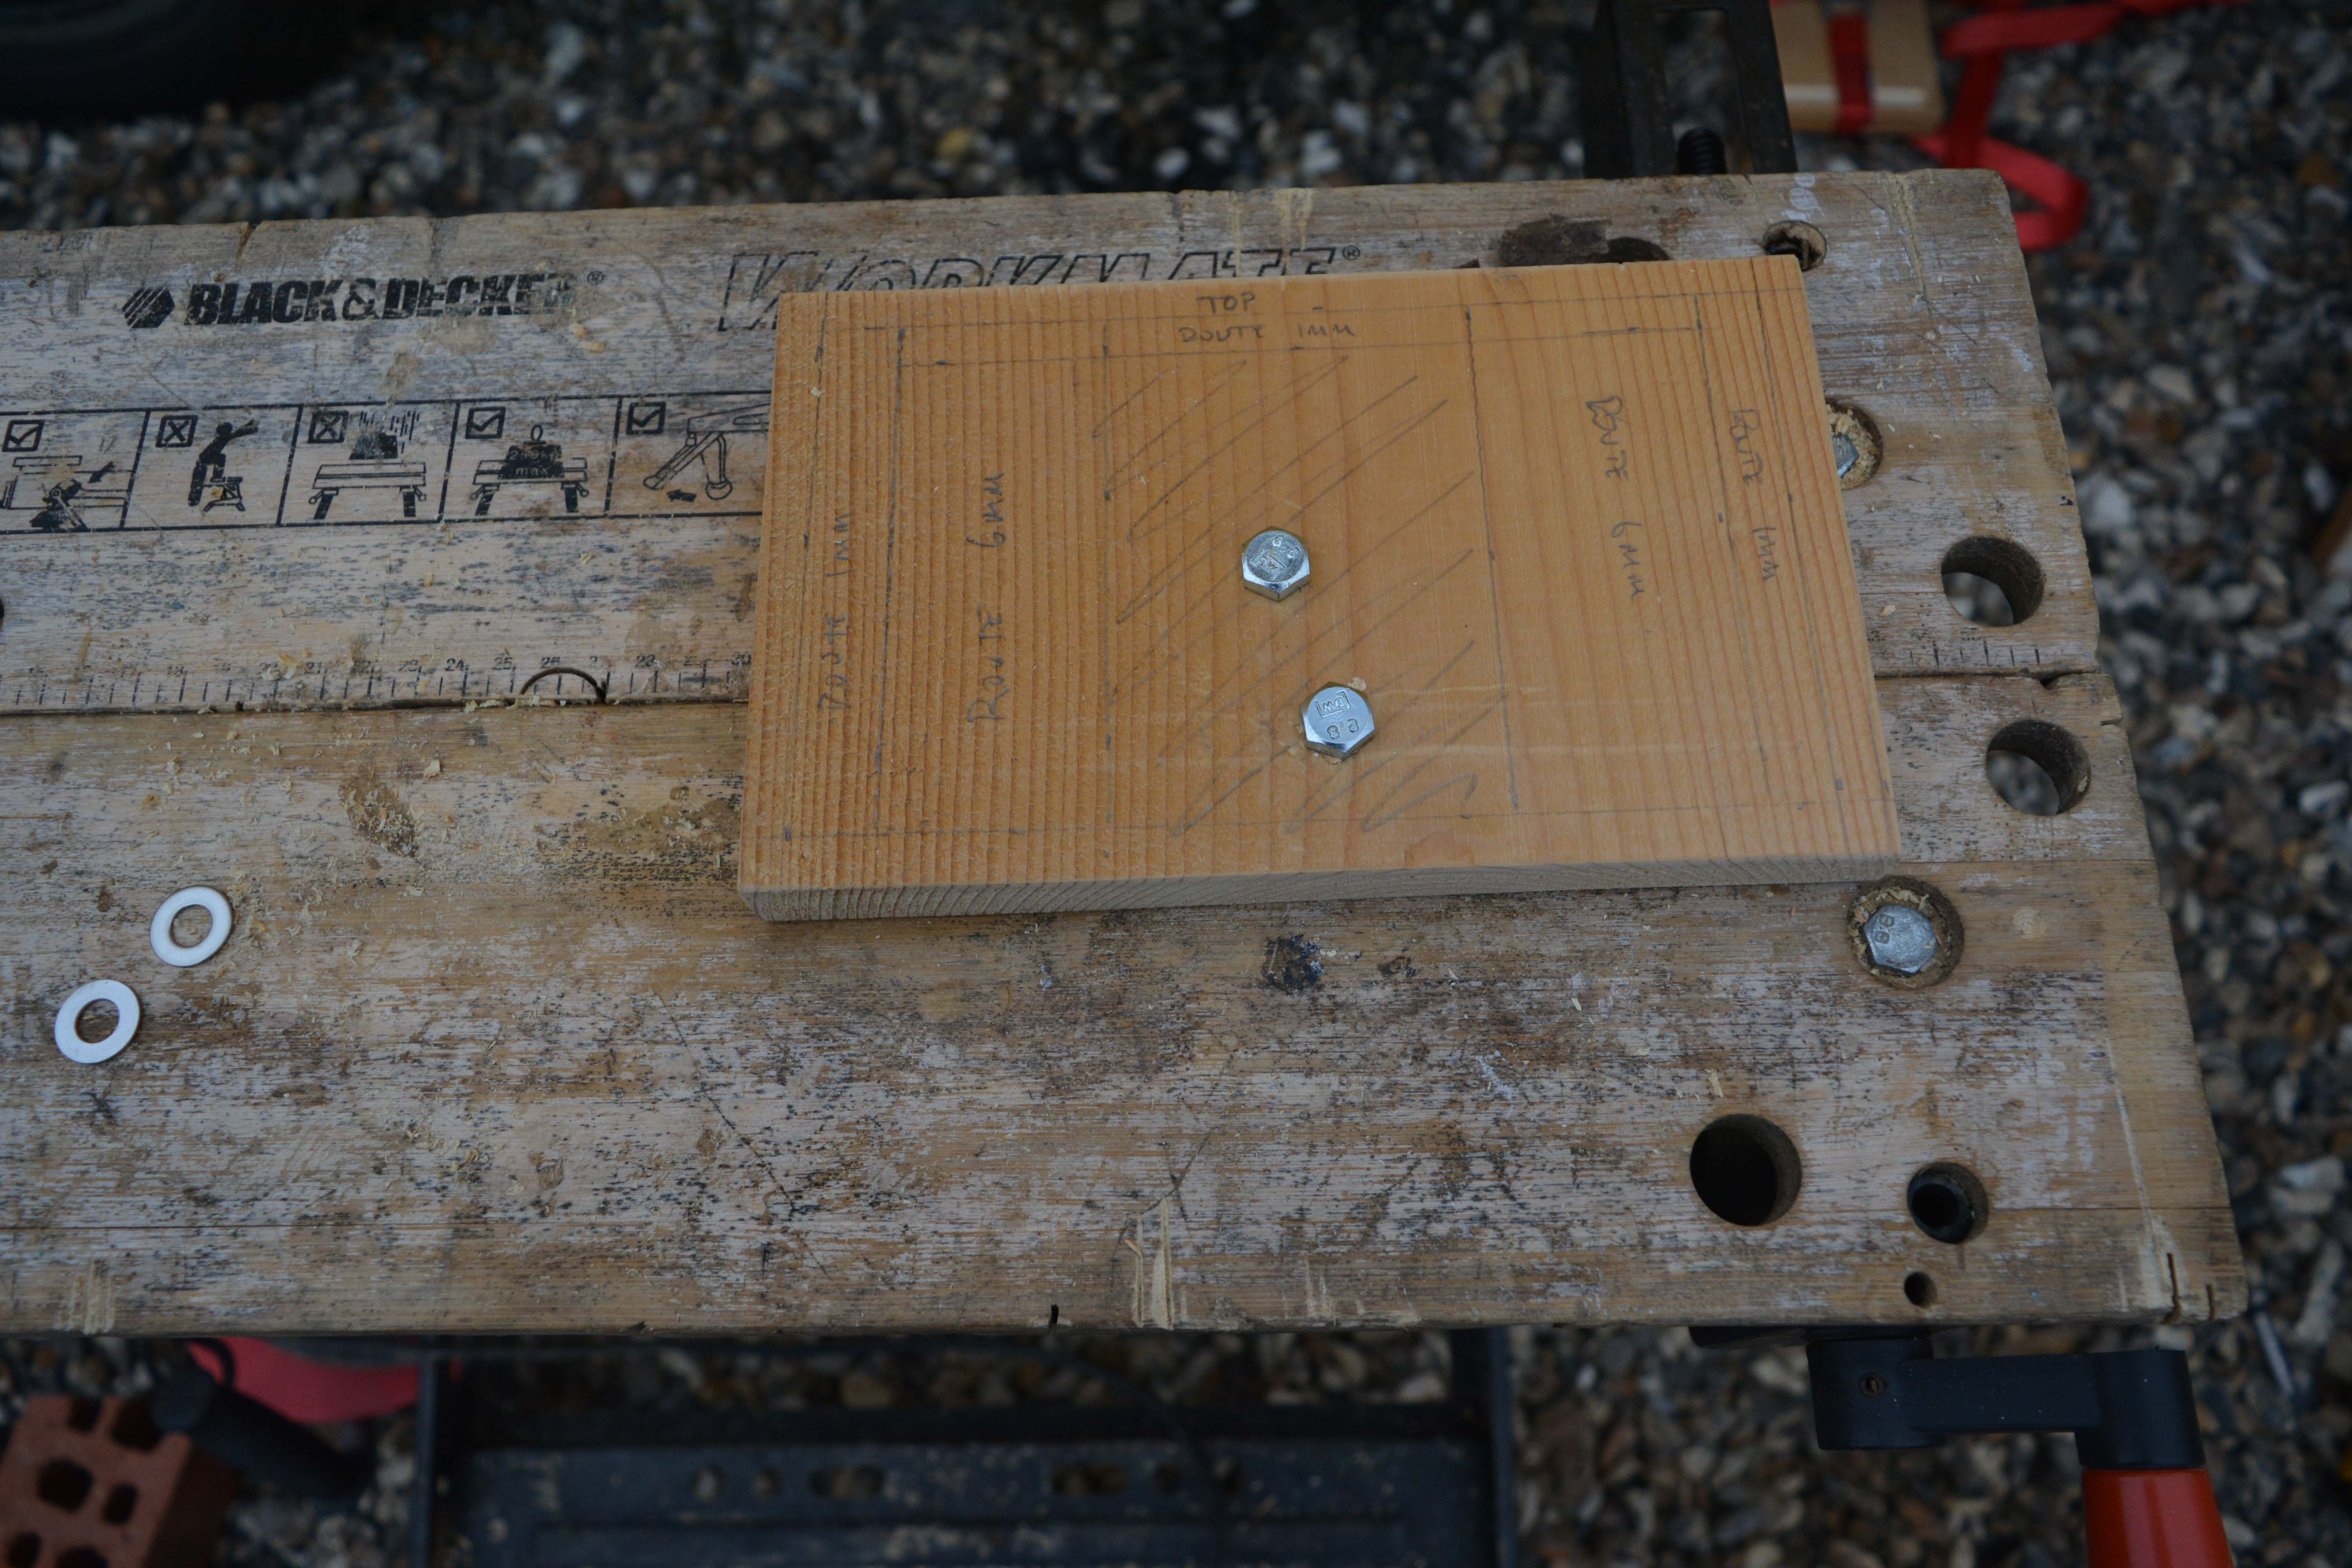
I then created a basic layout for the sections I needed to remove. I bolted the wood to the workmate so that it didn’t slide around.
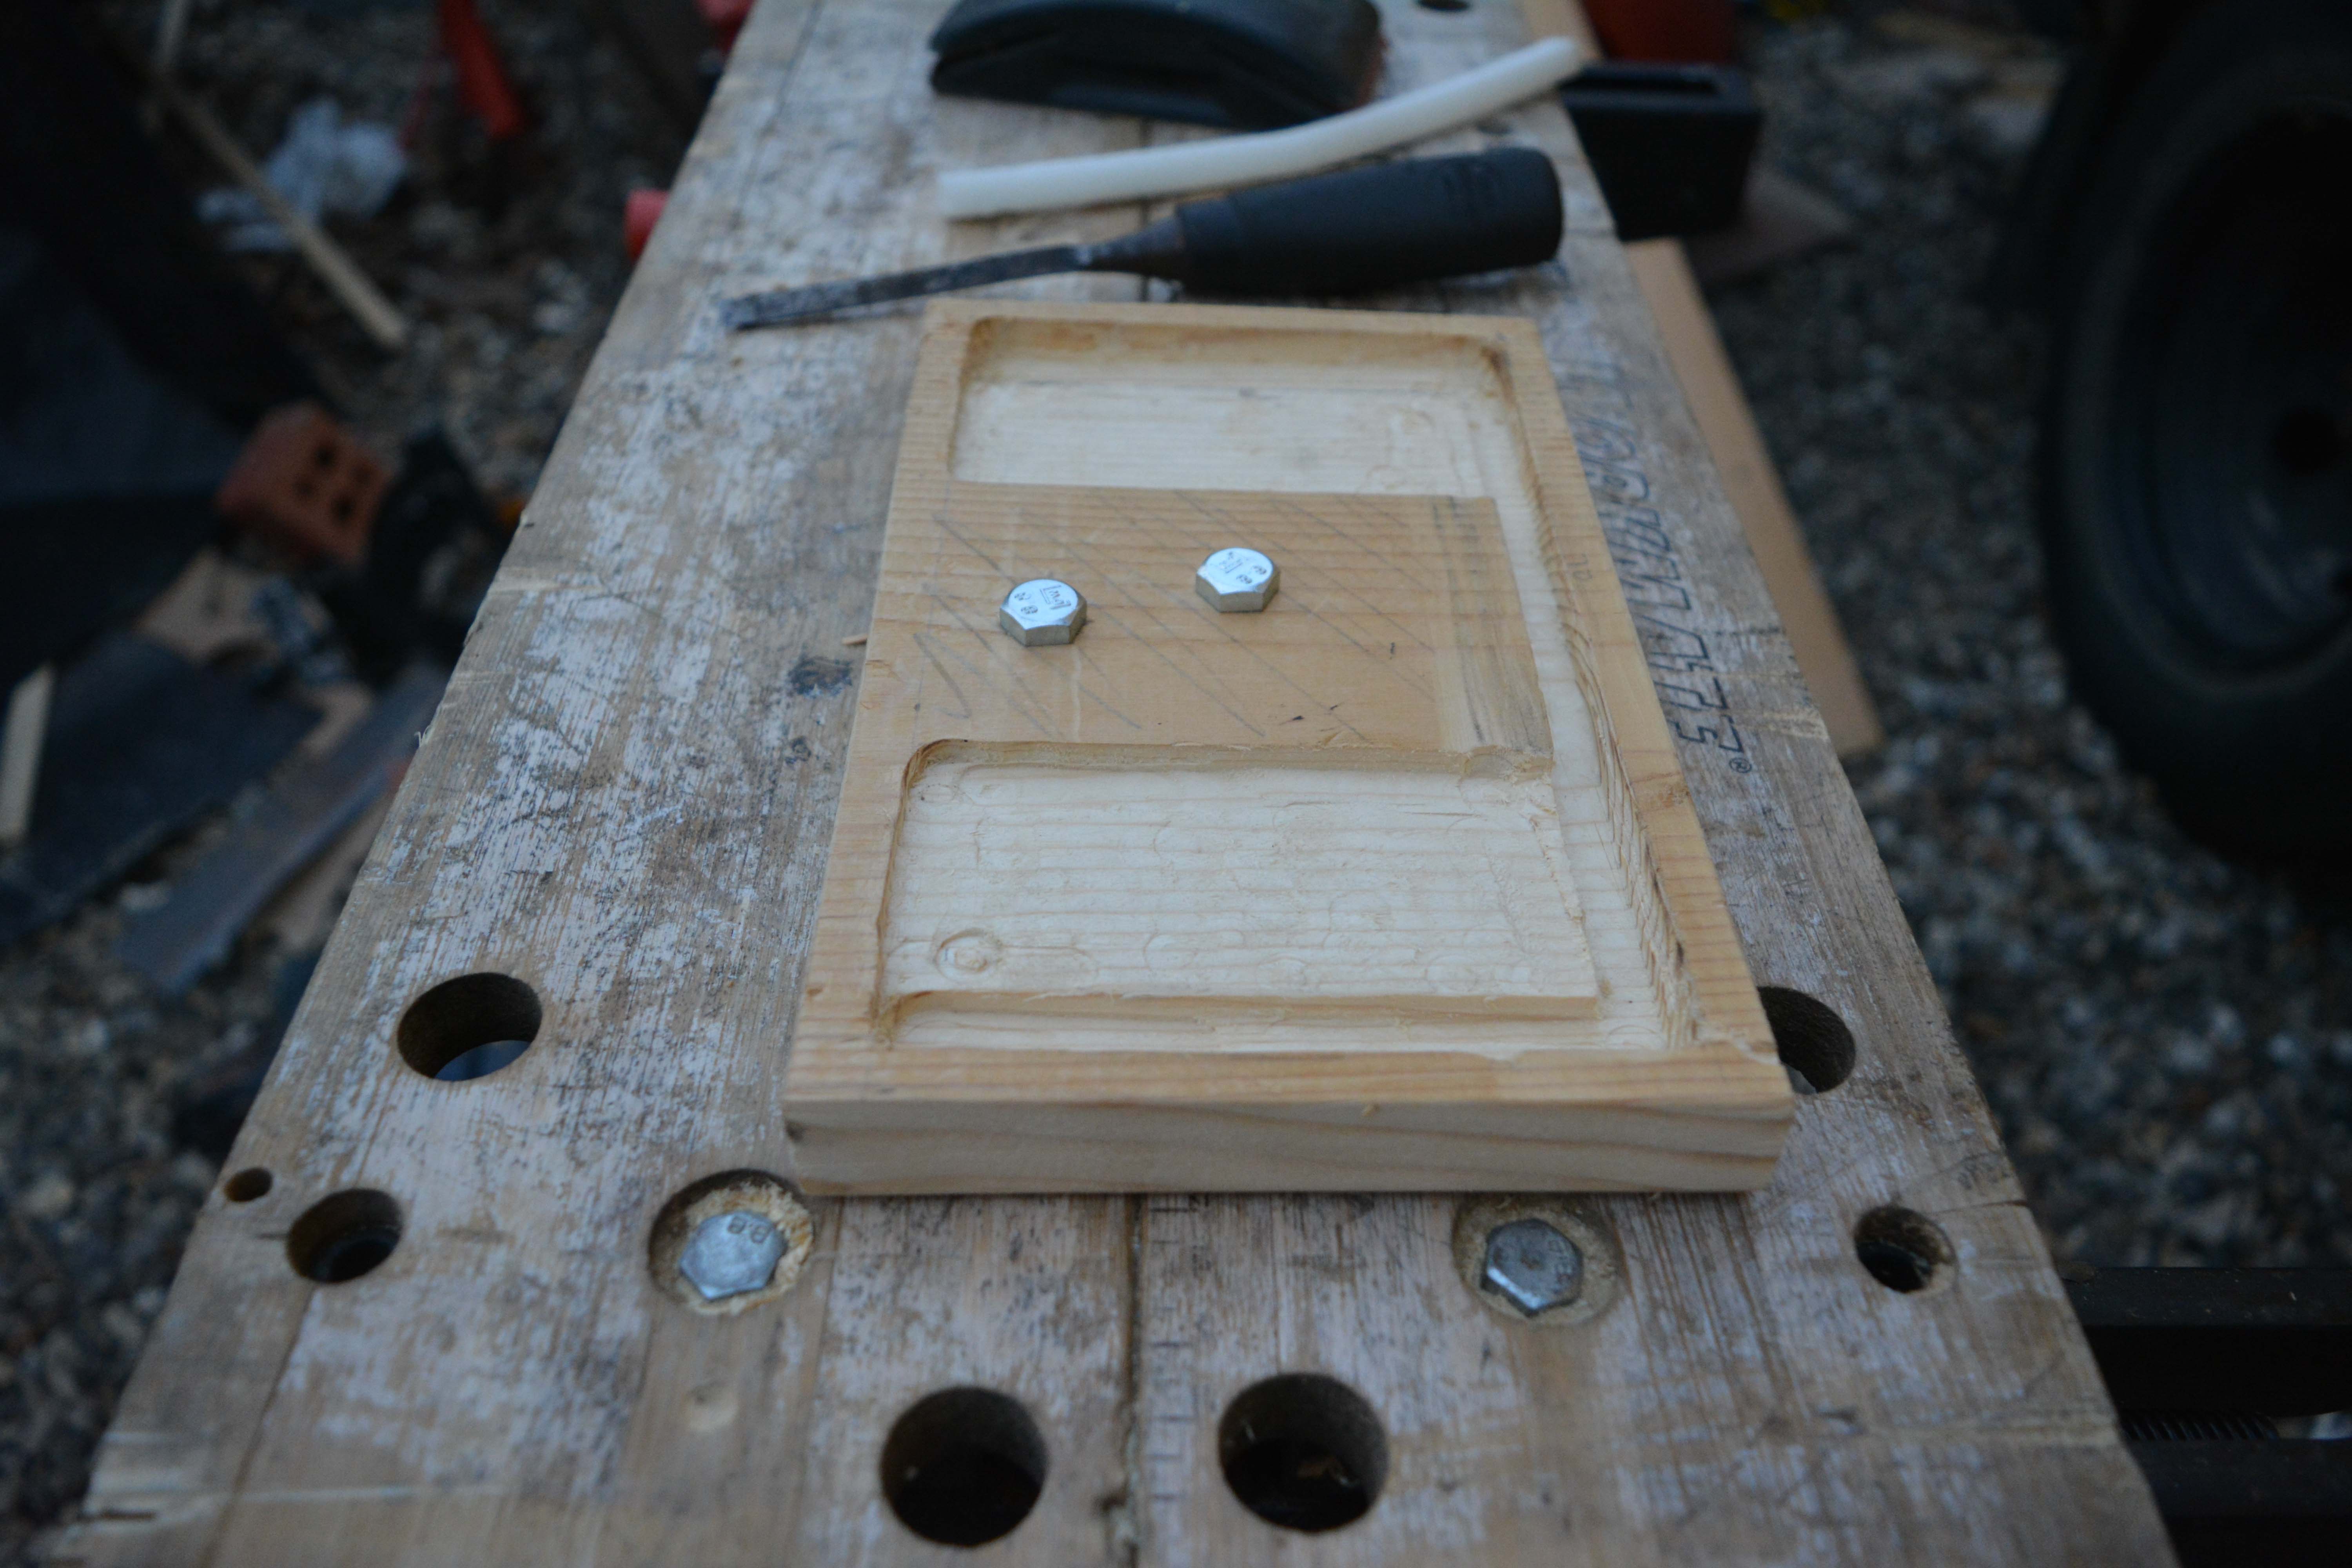
Next I removed the centre section and placed some white foam padding around the edges to support the edges of the screen. I also made four indentations for the raised threaded holes to sit in.

Fits nicely!


Now I needed to make it look a bit nicer. The wood was OK but looked a bit weird next to all the plastic of my dashboard.
I started by spraying everything black.

I then used 10 x 20mm aluminium angle to create a frame around the fascia. I bought this in metre strips from a home DIY shop.

I cut the strips at 45 degrees so that the corners joined like a picture frame and stuck them on with adhesive. It’s starting to look a bit more like a head unit!

Attaching the Enclosure
Once the adhesive had dried it was time to fix the screen onto my dashboard. Luckily it’s quite simple to remove.

I marked the rear side of the centre console using a fixing plate as a template.

Then drilled some pilot holes as I didn’t want the plastic to crack when I screwed into it.

Next I attached a piece of 45 x 22mm pine, also sprayed black.


Finally I attached the screen to this block using some butt hinges. I wanted to be able to get to the back easily in case of maintenance and also not make it any more difficult to remove the dashboard.

Once the enclosure was attached I used some M3 screws and washers to secure the screen.

I used a magnetic catch to hold the screen in place when it was upright.

Annoyingly It cracked when I screwed it in but its pretty solid so I’m going to leave it. It won’t be noticable when the screen is up.
Done!

Check out my next post for details of how I connected the power and audio system.


